After perfecting a generic custom list (calculated column variables, multiple filters and a few other column specific features) I now needed to export the list to another sit.
This can be done by one of two ways:
Either by SharePoint’s Central admin console, alternatively one can use the PowerShell command to complete this.
After attempting the PowerShell method I found it to more comprehensive and easier to work with than the PowerShell method (basically there’s a decent UI that the SharePoint 2010 dev team have created around this)
So anyway the following steps will get you there:
- Navigate to Central Admin
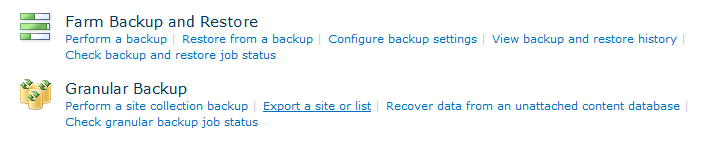
- From the Central Admin screen – select ‘Backup and Restore’

Form here click ‘Export a site or list’ from the Granular Backup links:
Select the relevant Site collection from the drop down
- 2 things I’ve noticed here as an upgrade from MOSS is:
- The overall ‘readiness’ of whether a component can be exported based on a current export being run or a timer service being completed
- nice use of dependant dropdowns

Once you’ve selected the Site collection, site and list select a file location (note the .cmp file extension and the fact that it needs to be a network location)

- Select the type of Security you want the list to have – in my case I didn’t select this as I needed to use the list in different scenarios 9but you might need to)

- Select the version number: (I didn’t need to as I’m sure that this is the last time I’d modify the list)

You’re now good to go and can hit ‘start Export’

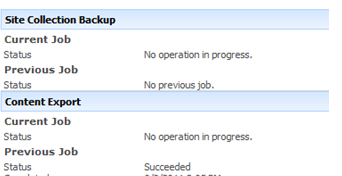
Once you’ve started the Export, you’ll get a screen notifying you about the status:

And then an outcome screen: (letting you know whether the job was/wasn’t successful)
Once done you’ll notice 2 files:
The actual file
And a log file which is handy in case things don’t go so well:

Now that you have you list as an exported site, unfortunately SharePoint 2010’s Central Admin doesn’t have a UI to facilitate the importing of this (neither did MOSS 2007) so you’ll have to use PowerShell (though I’m pretty sure you can use STSADM as well)
- Once you’ve fired up handy ol’ PowerShell plug the following command into the console:
Import-SPWeb –Identity <url> -Path <path> -includeusersecurity –force
- After running it, you should get an output message and that a log file was generated:

- Upon navigating back to your SharePoint list you should notice it on the root /homepage of your site which is where it was imported to:

You’re also able to complete the entire process using just PowerShell, which is especially useful for completing a number of these tasks
Reference:
http://red1s.wordpress.com/2011/02/04/how-to-export-import-a-sharepoint-2010-list-across-site-collectionsfarms/
No comments:
Post a Comment